Mirror Tutorial


Learn how to create mirror effects with Poser 6, Poser 7, and Poser 8. We'll show you what to do and how to creatively apply the effect to your art.

The mirror effect is a very nice effect for any type of art and it works especially well when creating art with Poser. It is slightly different than the normal reflective tutorials that you may come across on the internet because the image is not just reflected, it is mirrored in the same way as if you were looking in a mirror. But before we get into the many ways in which you can use the mirror effect for Poser, we'll take a quick look at how to create this effect using both the regular Poser lighting and the indirect lighting feature found in Poser 8.

To make this tutorial even easier, we are going to use 1 light setting that comes with Poser 6, Poser 7, and Poser 8. We'll also use the primitives that comes with poser so that you can get the full effect of how the mirror effect works. Then at the end we'll apply the mirror effect to a scene and show this process in a step-by-step video so that you can see us create the effect. Now let's get started with this short and easy to understand tutorial.


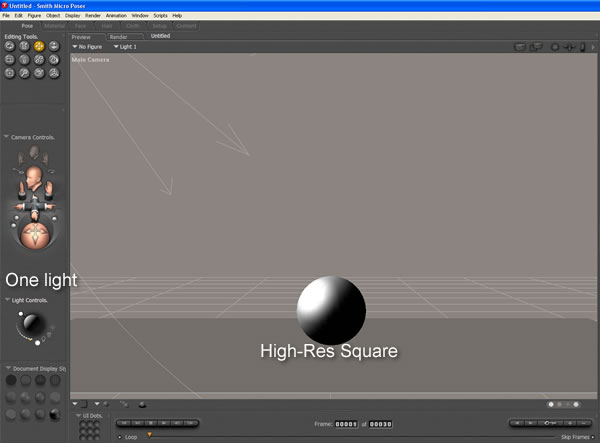
Step 1: Preparing the Scene: Open a New Poser Work Space

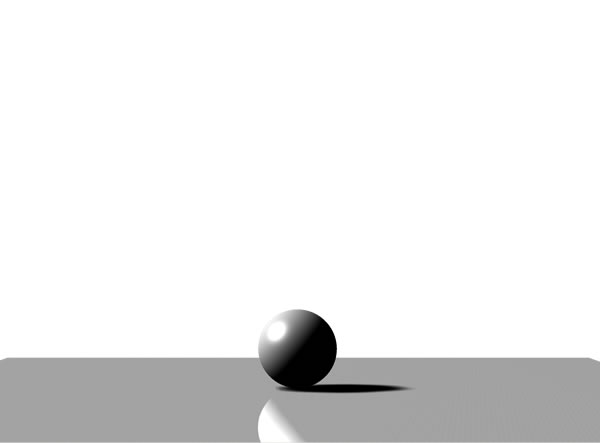
For the first step we are just going to use the default light settings that pop up when a new workspace is opened. Delete light 2 and light 3 then change light 1's color to white. Next we will add a High-Res(High Resolution) Square or a one-sided square to use it as a floor from Poser 8's primitive props. And we will add a High-Res Ball to the scene. At this time your Poser work space should look similar to the image here. It is recommended that you scale both the Square and Ball to a slightly larger size if needed.

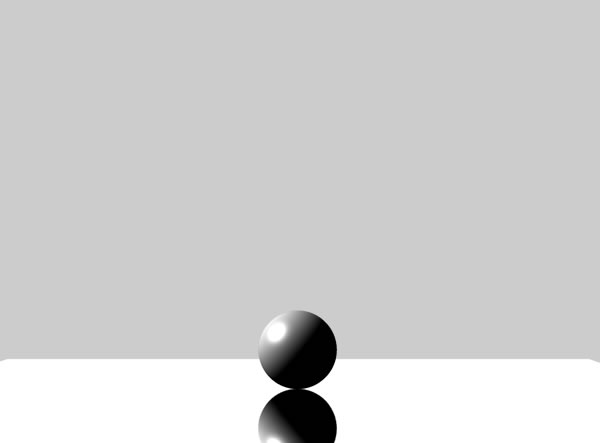
Here is what the image looks like when it is rendered without the mirror effect. As you can see below things look fairly gray.

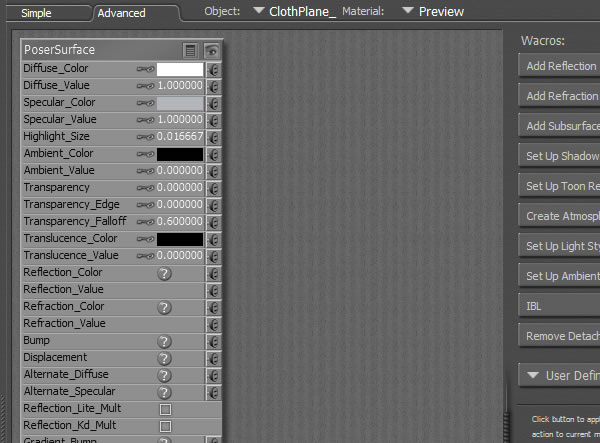
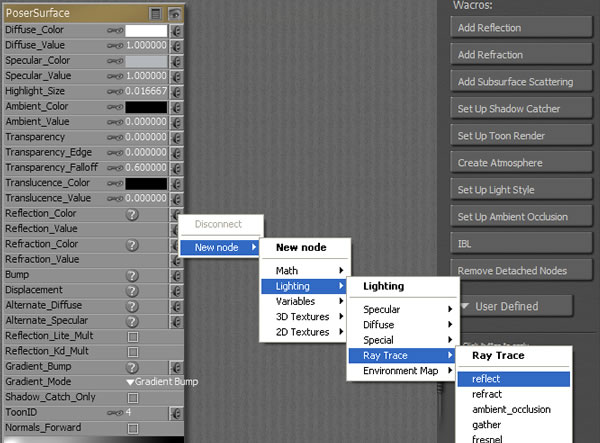
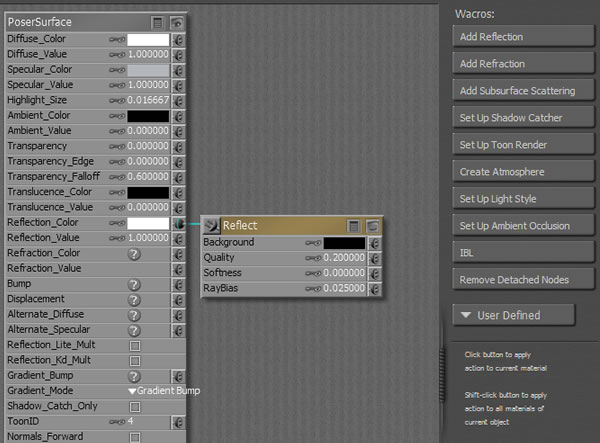
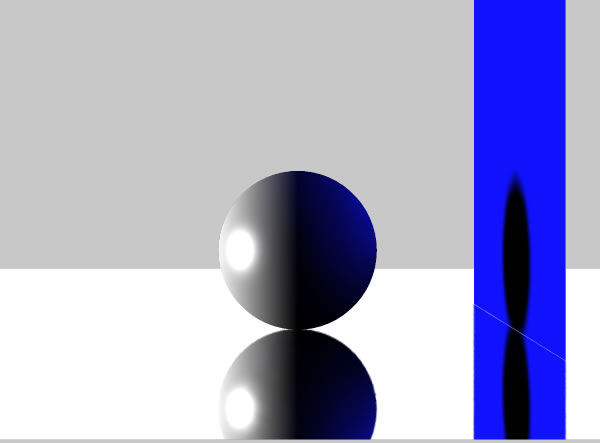
Step 2: Add Reflect Node to the High-Res square

For the second step of this process we will apply the mirror reflection settings to the high-res square in our scene by going into the Material Room. This will be done in the Advance Materials section of the Material room. You can access this by clicking on the Advance tab found in the Material Room. Your Material Room Advance settings should look similar to the image below.

Material Room Advance Settings for High-Res Square. (click on the high-res square to get it's material settings)

As you can in the image above the clothplane (high-res Square is selected at the top as the object). Has a white Diffuse_Color setting. We want to change the Diffuse_Color to black and then move the the Reflection_Color and set a node by clicking on the plug next to the Reflection_Color option and set the reflection setting by following these steps.

  1. Click on the plug next to Reflection_Color to choose the node
  2. Mouse over New Node-> Lighting-> Raytrace-> Click on Reflect as shown below.


Your Material Settings should now look like this:

Now lets render to see what is going on. Before you render make sure your render settings are high enough to have the raytracing activated. Reflect only works when the raytracing is activated. Move the marker in the render settings to the right until a check appears in the raytracing box. Now you are ready to render. Your render should look like this.

Ok at this point we have a reflection effect but not a mirror effect because we cannot see the back of the ball that the light isn't shining on. In addition the part of the graphic that we can see isn't very clear as it would be in a real mirror. In order to get the mirror effect we will need to change the Diffuse_Color and the background color in the reflect node.


Step 3: Change the Diffuse_Color in the Advance Material Room Settings to Black

We will change the Diffuse_Color in the advance material room settings and explain what happens when we change this setting. Changing the Diffuse_Color in the advance material room setting will change the color of the High-Res square except for one color; white. We have provided some sample of what happens when the Diffuse_Color is changed.

Now that you have seen how changes in the Diffuse_Color setting affects your renders, change it to black. Changing the Diffuse_Color to black will sharpen the reflection. We are still unable to see back reflection where the shadow is, so we have more more setting that we will need to change. When you think of a reflective surface you have to think that the surface will have 2 colors. The first color is the surface color and the second color is the color of what it is reflecting. We have changed the color of the actual surface (High-Res Square) and now we have to change the color of what is being reflected.


Step 4: Change the Background Color in the Reflect Node

When you think of a reflective surface you have to think that the surface will have 2 colors. The first color is the surface color and the second color is the color of what it is reflecting. We have changed the color of the actual surface (High-Res square) and now we have to change the color of what is being reflected. By default the reflect node background color is set to black, but we want it to be white. Changing the reflect node background color will give our High-Res square a true mirror effect. The end result below.

You will also see that there is no shadow in the image below yet the shadow setting for the light is still on. By adding another primitive prop between the light source and the ball, we can see that the shadow option for the light is still on as the second prop casts a shadow on the ball but not on the reflective high res square.

We have created some addition renders with different material settings for the ball so that you can see how different various materials appear in the reflection.


Using the Indirect Light Setting with the Mirror Effect Tutorial

Poser 8 owners have the option to use the Indirect Light setting which can create a more realistic render provided that the light can bounce off the High-res square or some other props such as a wall. The thing to always remember about the Indirect Lighting in Poser 8 is that that it requires something to bounce off. In the image below we added a blue single side square as a wall so that the light would bounce off the wall.

Please visit our lighting tutorials to learn more about the new Indirect Lighting feature in Poser 8.


Tutorial Summary: The Quick Tutorial - Settings for the Mirror Reflection

If for some reason you have gone through the entire tutorial and still aren't able to get the mirror reflection to work then start over at the beginning of this tutorial and after Step 2 set your material settings for the mirror reflection as you see in the image below. Your final material settings should look like this.


.

  Get Unlimited Access To Songs for $15!


iCLIPART.com 
Buy Poser 7 today!