Step 5 : Open Poser's Material room |
|
 |
|
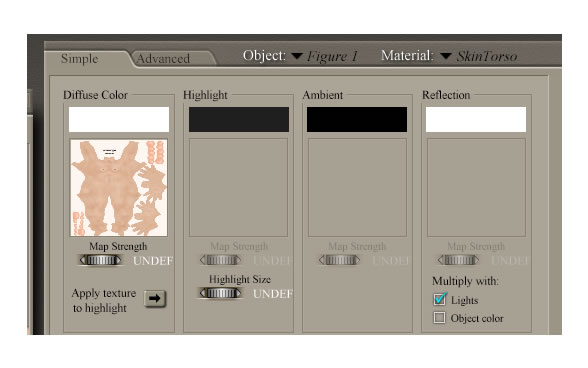
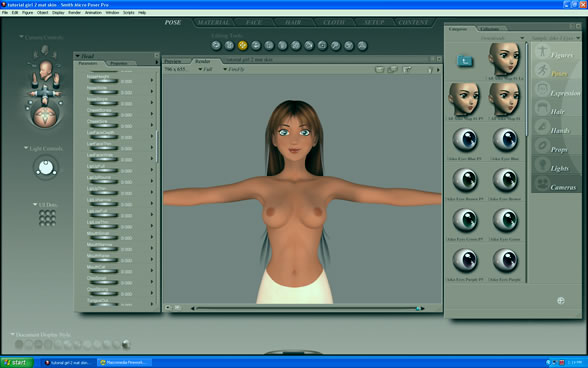
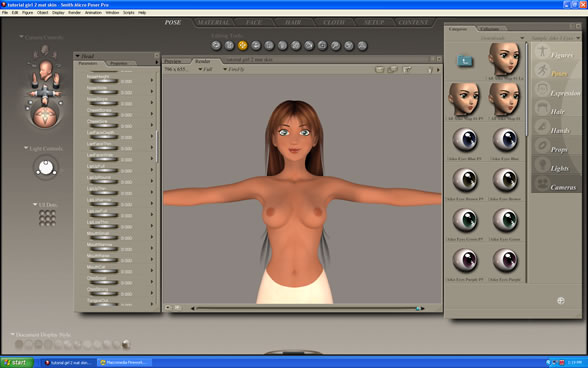
When you open Posers Material room you will see your model and the materials that your model is currently using. To change the color of the skin, we will need to select the parts of the model that we wish to change. The first step in doing this is to make sure that our Object: is pointing to the Aiko 3 base, in this case it's Figure 1 as shown below.
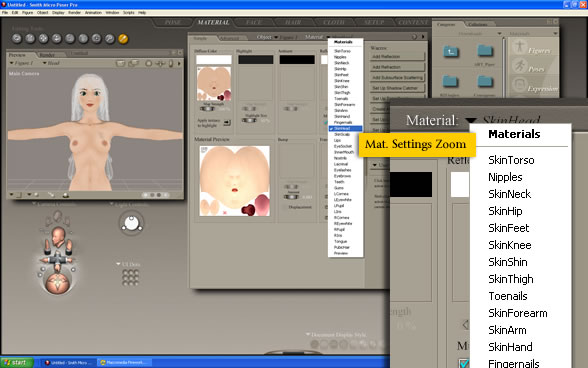
Our next step is to click on the Materials drop down list next to the Object drop down list. We will change all of the parts that say Skin. In our example above we selected Material: SkinTorso (shown in image above). Now that we have a skin material selected we can click on the Diffuse Color Box (shown in image above ) and replace the current color with brown. We will repeat this step with all of the Skin materials until we have completed the entire body Note: You will need to change the Nipples, Nostrils, and Lips to the same color as the skin in order to have consistent color. If you do not change these then you will have have lines from the old color.
|
|
| Step 6 : Add the Aiko 3 Material Map | |
 |
|
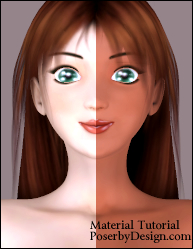
In the render above you can see two different colors. The brown portions are where we changed the color and the white portions (on the hips) are from the original Aiko 3 skin materials. It may take a few tries before you find the skin color that you are trying to accomplish. If you are like us and lose patience then you can simply adjust the Levels. The image below is the exact same image as above with the exception that we reduced some of the red that was in the image. The good news is that the more you work with the Materials Room the easier it gets and the better you'll get with making adjustments to the materials.
|
|
| Page 1, 2, | |