

Understanding Postwork - It's not just for mistakes. |
|
 |
|
Understanding the value of postwork is very important when it comes to creating computer generated art in Poser. Many Poser and Daz Studio artist tend to look at postwork as a way to correct image imperfections. But Postwork is much more than correcting mistakes. It is an opportunity for enhancing your art beyond the realm of rendering and accepting what the computer produces. It is the opportunity for you to add your own personal artistic touch. This postwork tutorial will teach you the basics of how to recognize when to use and how to use Burn, Dodge, and Guassian Blur postwork techniques. The burn and dodge tools are 2 of the most commonly tools that we use in the creation of our digital art. These tools are essential for 2D anime coloring and it allows us to really enhance our 3D art work. We enjoy using the burn and dodge tools so much that we ALWAYS look for an opportunity to use it with our renders. You may feel the same way after going through this tutorial. Remember even though the postwork was done in Photoshop, you'll be able to follow the steps in other popular graphic editing programs like Paintshop Pro. Well enough talk, let's get started.
|
|
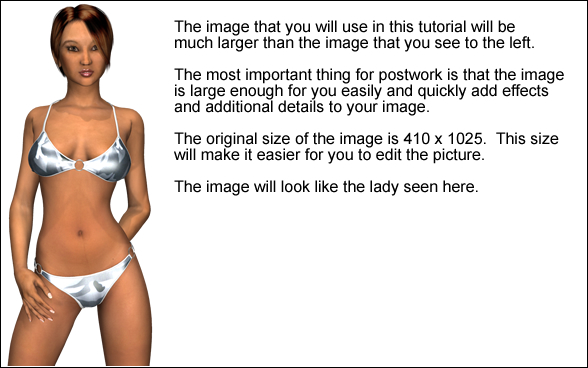
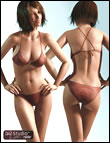
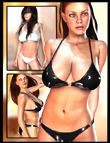
| Step 1 : Download and open the image used in this tutorial (Click Here to Download) | |
 |
|
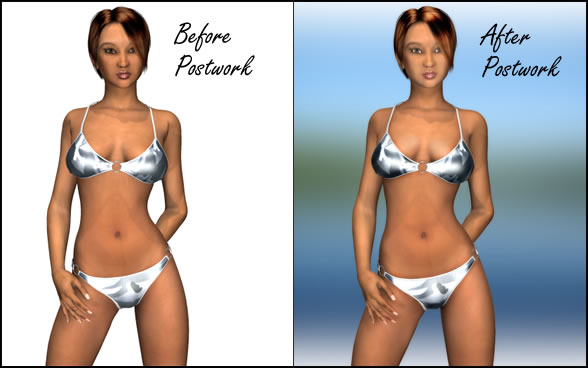
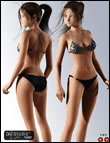
From first looks of the image it appears to be ok with the exception of the deep creases in the arm pit areas. For the most part it's a fairly decent render. But since this is a postwork tutorial we are looking to make this picture better than decent. Our goal for this tutorial is to make slight changes our bikini lady that create a noticeable difference and that will really make this image stand out. Let's take a closer look at this image to have a better idea of what we can add or change to improve this image.
|
|
| Step 2 : View the image and ask "What can I improve?" | |
 |
|
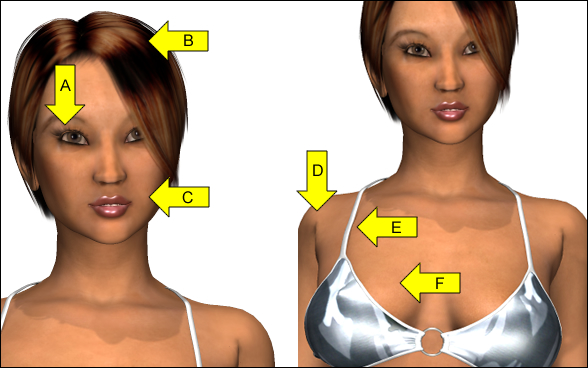
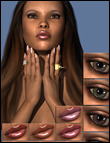
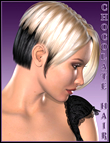
We are going to start with looking at the upper half of this image and work our way down to the bottom half. A. The colors of the eyes are darker and we may be able to lighten it up so that the eyes stand out more. B. The highlighted areas of the hair are dark and we may be able to lightened it up allow us to show more hair strands. C. The lower part of the face is slightly darker than the upper part of the face. We may be able to even the skin tone. D. The crease of the armpits is too large which makes the shouders appear to be deformed. We can definitely improve this. E. We can improve how the clothing lays on the skin buy changing the skin tone at the point where the clothing ends and the skin begins. F. We can direct the focus of the viewer by changing how the lighting of falls on the breasts. Changing the lighting will improve the 3D look and will give the appearance that the bikini is really holding something of substance. Special note: The color of the bikini can also be improved, but this isn't clear yet until we make the initial changes first.
|
|
| Step 2a : Looking for more improvements | |
 |
|
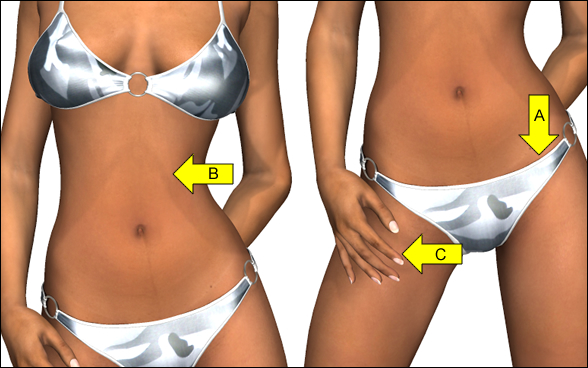
Now let's take a look at the lower part of our image to see what else we can improve. A. We cam improve how the clothing lays on the image the same way as discussed for E in the previous step. B. Here we can create a more defined muscle here. This is actually optional and not necessary but it's a good way to show you one of the many ways you can use the burn tool. C. We can also improve on the shadows that are casted by the fingers. In the original render you may be able to slightly tell that there are shadows there. Now we are ready to make the changes that we have pointed out. Many times postwork isn't an exact method that works the same way for every image. Numerous changes and styles were made during postwork before settling on the changes that we felt improved the images. Much of what you'll do in postworking will be trial and error because each image is different. The only thing that you will be able to do consistently is picking out the type of improvements that you want to make on the image. |
|
| Page 1, 2, 3 | |
Note: The Aiko 4 Character requires the free V4 base 3D model.