

Step 3 - Guassian Blur Time |
|
 |
|
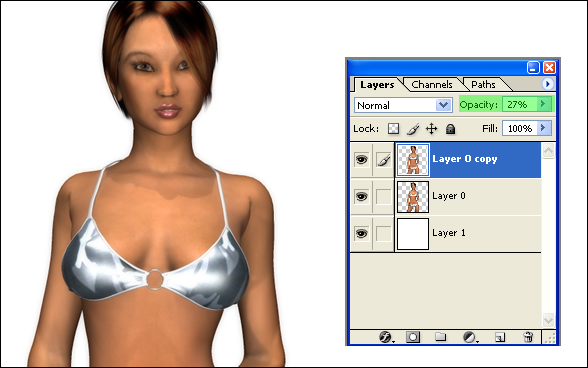
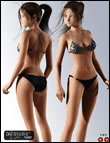
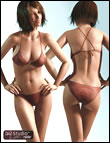
Copy and paste your character on another layer and apply the guassian blur to the top character layer. Click here to see the detailed steps on how to apply the guassian blur to create the Soft Glamour effect. The intensity of your gaussian blur will determine how soft or how defined the lines will be on your character. If you want to keep the sharp line looks on your image yet create a softer look for your image then use guassian blur settings that are 4.1 pixels or lower. Anything above 4.1 for your gaussian blur setting may be extreme and cause your image to be fuzzy looking. The only time we use above 4.1 is to create the illusion of distance, depth, and focus. The purpose of us adding the Soft Glamour effect is to soften up the lines just a little. The top layer will also serve as a way to enhance the colors on our image later on. Set the opacity of the top layer to 27% (highlighted in green in the image below.) or to the point where there is a hint of a soft blur. You want the lines to be defined and soft at the same time. If you have done this correctly then your image should look like the one below.
|
|
| Step 4 :Apply the burn to the skin and bikini cloth | |
 |
|
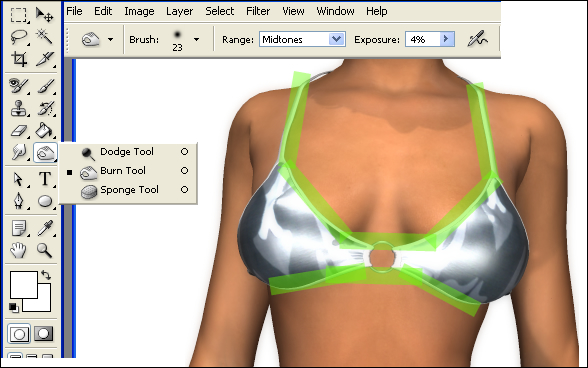
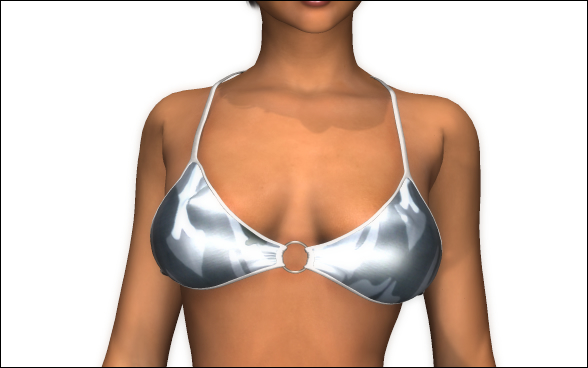
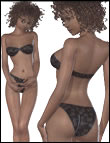
The next step is to apply the Burn tool. The settings for your burn tool will vary depending on the colors in your image that you rendered. It won't always be the same so the settings for the burn tool will only apply to this tutorial. After using the burn tool you'll have a better idea of how you'll need to adjust it for other renders. For this particular image you want to select the burn tool and set the brush shape and size as shown in the image above. The brush shape should be round and the hardness set low so that it will blend well with the character's skin. We'll burn the midtones and set the exposure to 4%. 4% doesn't seem much but sometimes a little burn is all you'll need to make a big difference. The areas that you want to burn are highlighted green in the image above. You want to burn the areas where the cloth and skin meet. The low exposure setting will allow you to move back and forth within these areas until you have the designer look. Your image should now look like the image below.
|
|
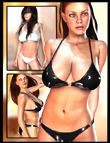
| Step 5 : Do the same for the lower half of the body. | |
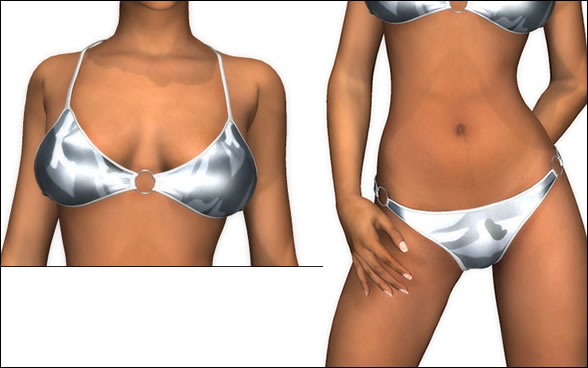
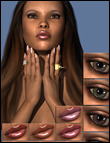
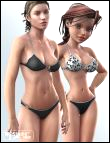
Keep the same settings as in Step 4, and do the same for the bikini bottom and the fingers (hightlighted in green). 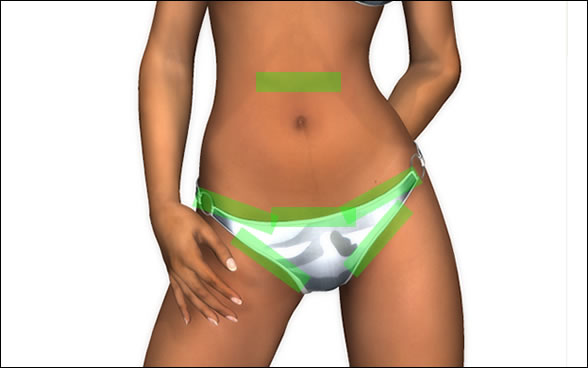 |
|
After completing these steps the top and bottom part of the image should look like the image below. The stomach muscles are more defined now. This could have been done in the initial poser character creation, but we used it here to show you how the burn tool can be used to add muscle definition on any part of the body. The benefit of using the burn tool is that you can add muscle definition where I want to add it. You can use it to create shadows that blend with the skin. You can also use it to darken highlights of the hair. The Dodge tool does the opposite of the burn tool and allows you to lighten specific areas. We will take a look at the dodge tool next.
|
|
| Step 6 : Use the Dodge Tool to lighten areas. | |
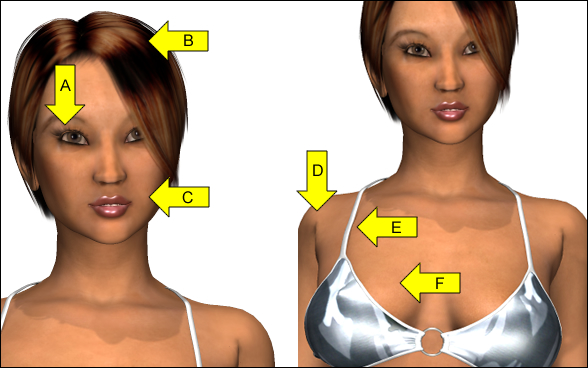
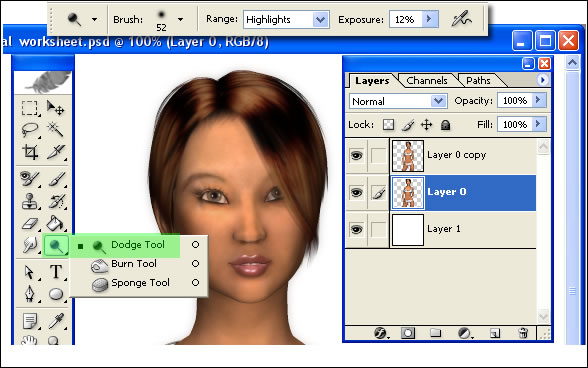
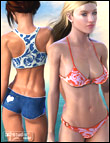
We have completed 5 of the 9 areas that we pointed at the beginning of this tutorial. Our next step is to use the dodge tool to lighten some of the areas on our image. We will focus on the hair, the face, and the eyes. Review where we make the changes on the head.
Select the Dodge Tool (highlighted in green) and set your brush settings as shown below. Make sure that your have Highlights selected and your exposure set to 12%. You want to go over the eyes with the Dodge brush first. (Important: your bottom layer must be selected and not the Gaussian Blur layer). When you go over the eyes you'll notice that they eyes will turn a lighter shade of brown (shown below).
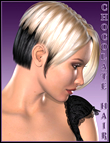
We have finished with the eyes we can continue to do the same with the face and the hair. Make sure that you dodge the face and hair separately for better results. Your end results should look like the picture below. They eyes are brighter, the skin tone is lighter, and the hair highlights are brighter. Our next step is to correct the shoulders. 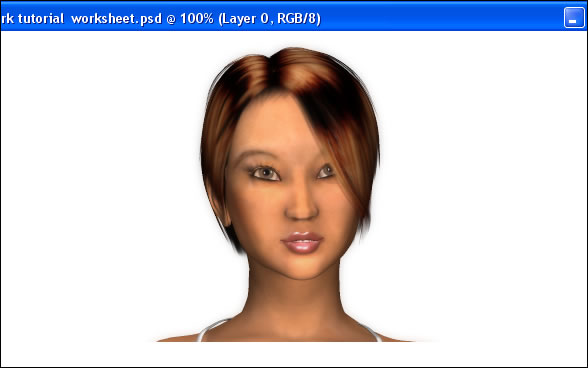 |
|
| Page 1, 2, 3 | |
Note: The Aiko 4 Character requires the free V4 3D model.