Step 1 : Setting Up and Getting Familiar |
|
 |
|
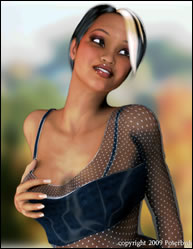
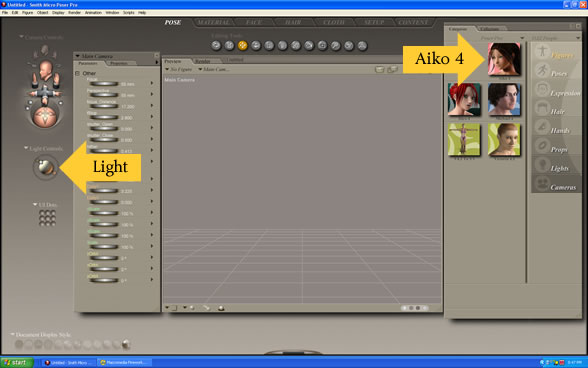
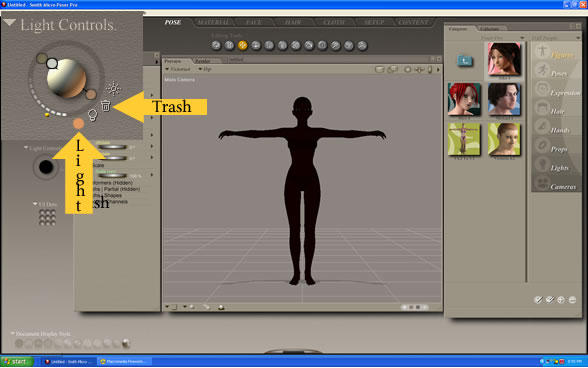
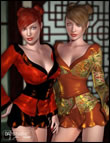
In this Poser tutorial we are going to use the Aiko 4 base model, the Luna character, the Anjiru clothing, A4 Sexy Sassy poses and the Aiko 4 Long Hair. Arrows are pointing to the light and the Aiko 4 base character in the image above. This tutorial was made using Poser Pro but all of the features are the same as Poser 6 and Poser 7. When you first open Poser you'll have a default character. You will want to clear this character by clicking on it and pressing delete. This will clear the character, giving you a clear workspace. Now your workspace is set up and ready for use. For the first few steps of this Poser Tutorial we will be working with Poser's Lighting feature (marked in the step 1 image), inserting the model, and adjusting the Poser's render setting.
|
|
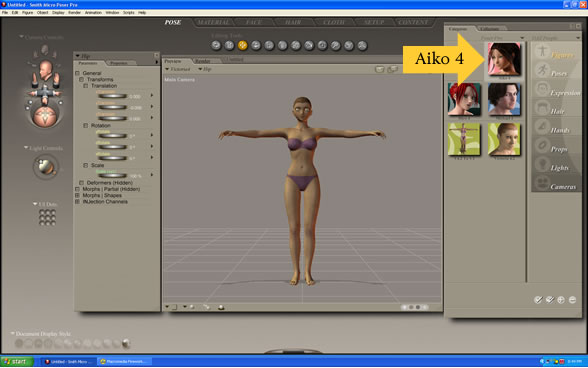
| Step 2 : Add the Model | |
 |
|
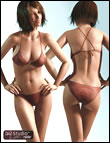
Add the model to the workspace by double clicking on the Aiko 4 character. Aiko 4 by itself doesn't look exciting but we will take care of that so try to restrain from dressing her up at the moment. The base models will almost always look dull and ugly, but that is normal for a base model. In this particular tutorial we are using the Aiko 4 model without any of the Morphs in order for you to get as close to the same end results as possible.
|
|
| Step 3 : Set Up Render Settings | |
 |
|
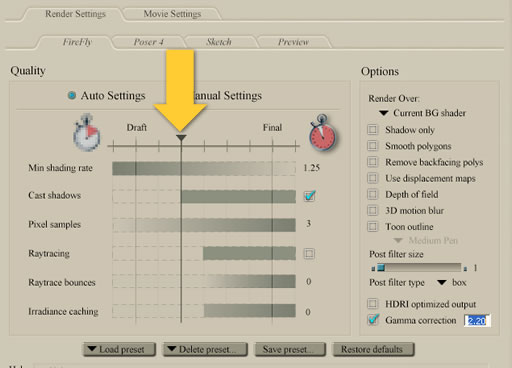
The next important step is to set up your rendering settings. At this moment we are only interested in making sure that Poser renders the shadows. In order to do this move the bar slowing to the left (shown by yellow arrow) until the Cast Shadows box has a blue check in it. Casting shadows plays an important role in giving your image the 3D look. Your render settings can vary depending on the artistic style that you are trying to accomplish. It is not always necessary to render your image at the Final rendering setting and in some cases having it set on Final will actually lower the quality of your render. It just all depends on the art style that you are trying to accomplish. Having the settings above will allow your computer to render images faster while including necessary features such as shadows.
|
|
| Step 4 : Setting up Poser Lighting | |
 |
|
We are almost done with setting things up for use. In step 4 we need to get rid of the default lighting for Poser by deleting all of the lights. To delete the lights click on the small circles of the light control. In the picture above we have zoomed in to show that there are 3 lights around the model (represented by the larger sphere in the middle). Click on the small circle. The color of the circle that you selected is shown by the (light arrow). Once the light has been selected click on the trash can. This will delete the light. Delete the remaining lights. After all of the lights have been deleted your model will turn black, as well as the large sphere in the light control. You are now ready to add some better lights. We will use a 3 light setting for our model. |
|
| Page 1, 2, 3, 4, 5 | |
Note: The Aiko 4 Character requires the free V4 3D model.
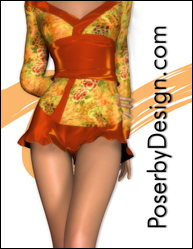
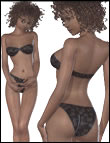
Quick 3D Model Review: The Anjiru Clothing model is well made and has a very large number of clothing designs for it. We actually purchased the both clothing accessories for the Anijiru clothes.
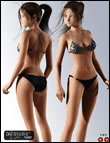
The clothes adjust well with morphs and can posed in realistic ways. Like always the Aiko 4 and the V4 bases are really great. The will allow you to create some really amazing 3D characters if you use the morphs. All of the 3D models work well with Daz Studio, Poser 7, and Poser Pro. Below is a sample of the Aiko 4 Sassy Sexy Pose