

Step 7 - Correcting body creases - using the smudge brush |
|
 |
|
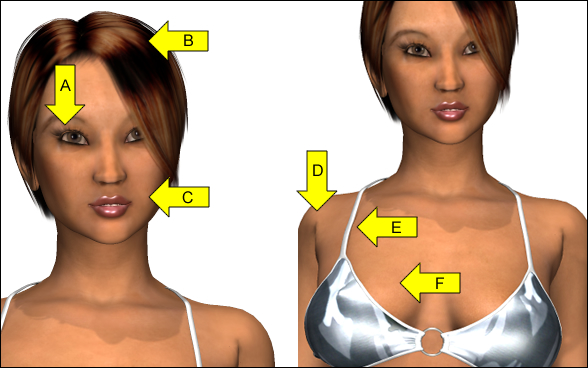
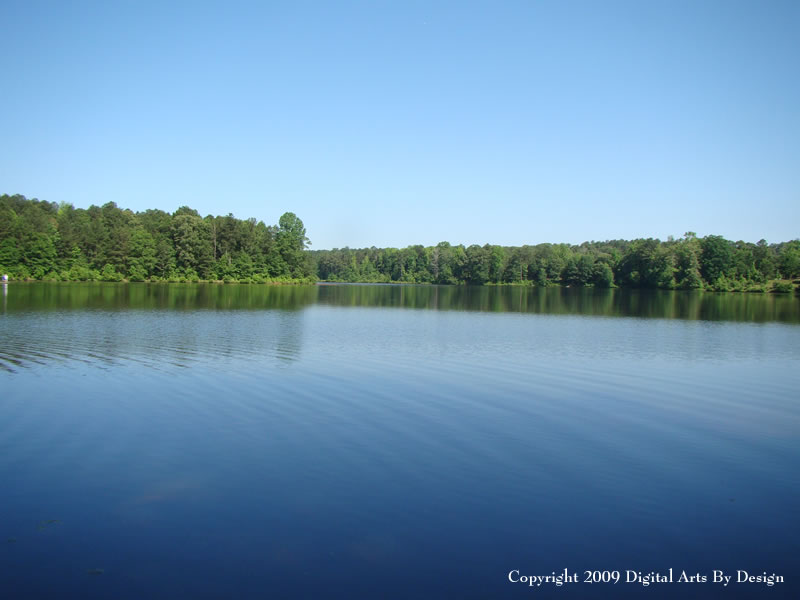
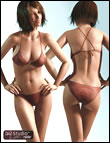
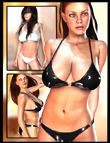
Unfortunately there will be poses that will cause distortions with your model. This happens with all models but usually isn't a problem because the distortions are covered by clothing. In our case the distortions are very noticeable (Shown by Arrow D). We will correct this distortion by using the smudge brush. Select the smudge brush and make sure your settings are as shown below. The most important thing to remember when using the smudge brush is to start from one side and release the button at the end of each stroke. For example in we will start at the top of the armpit crease (Shown with Arrow D) and we will smudge in one direction, downward. At the end of our move we will release the mouse button and star again at the top of the crease and smudge down. Using this method allows us to move the colors downward. Do not move the smudge brush back and forth. We will do this for both armpit creases. It is very important not to set the smudge strength too high because it will smudge too much of the color. A lower strength setting will allow you to create a very good blend. Your smudged image should look like the image below. 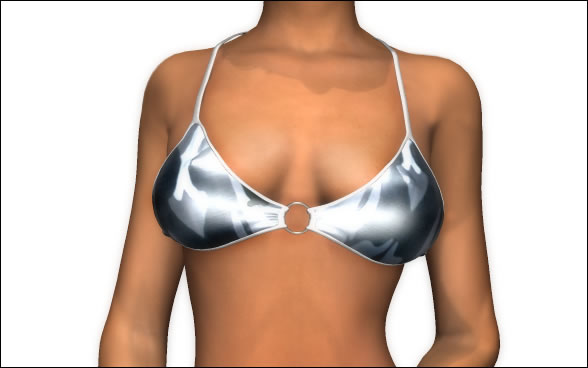 For a final touch we used the burn brush on the bikini top and bikini bottom in order to create a contrast of colors on the clothing with is why the clothing may appear to have stronger darker colors. The last step is adding a background. This part you can choose a background of your choice. The background that was used in this tutorial was created by taking a photograph of a lake with trees in the background and a blue sky above and giving it gaussian blur with a very high setting. This is just a photograph that was taken while at a park in Georgia. The amount of gaussian blur is up to you. Making a gaussian background is quick and easy to do. It works very well for a simple background. You can often take photos from clipart CDs to create a wide range of simple backgrounds, or you can take a couple of digital photos with your camera of things like flowers, the sky, a car or anything else that you like to create a wide range of unique gaussian backgrounds. Our end result is the image below. You can try the Gaussian Blur background that we created by downloading the lake picture here: The Gaussian Blur strength for the lake should be set somewhere between 30 and 40 to create a similar effect as the image below. 
|
|
| Page 1, 2, 3 | |
Note: The Aiko 4 Character requires the free V4 3D model.
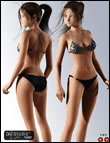
Quick 3D Model Review: The Anjiru Clothing model is well made and has a very large number of clothing designs for it. We actually purchased the both clothing accessories for the Anijiru clothes.
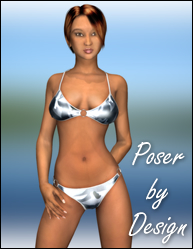
The clothes adjust well with morphs and can posed in realistic ways. Like always the Aiko 4 and the V4 bases are really great. The will allow you to create some really amazing 3D characters if you use the morphs. All of the 3D models work well with Daz Studio, Poser 7, and Poser Pro. Below is a sample of the Aiko 4 Sassy Sexy Pose